Worm composting is a great way to turn your food scraps into a nutrient-rich fertilizer that can be used for house and garden plants. A pound of red worms can eat 65 pounds of food scraps in less than three months!
Worm composting best works for food scraps, so if you want to compost plant trimmings you should check out the backyard composting section. Worm bins are generally much smaller than backyard compost bins, so they're a good option for households with limited space.
How to Set Up A Worm Composting System
1. Get a worm bin
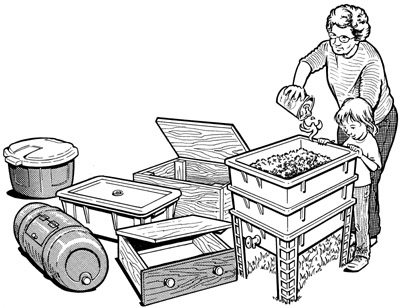
Build a bin out of wood, or by using a plastic tote, an old dresser drawer, shipping crate, or barrel. Your bin needs to be 10 to 16 inches deep, have holes in the bottom or sides for ventilation, and have a snug-fitting lid. To keep rodents out, the holes need to be 1/4 inch or smaller. The rule of thumb for bin size is two square feet of surface area per person. An average two-person house would need a bin about 4 square feet, or two bins that are 2 square feet each.
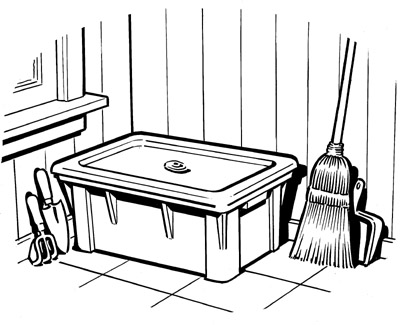
2. Pick a place
Locate your bin where it will not freeze or overheat—in a pantry, kitchen corner, laundry room, garage, basement, patio, deck, or in your garden. Make sure to put it in a shady spot as direct sunlight can heat up a worm bin and kill the worms. During winter, it is important to provide protection from rain or frost. Worm bins are often placed in garages, under decks, or in basements.
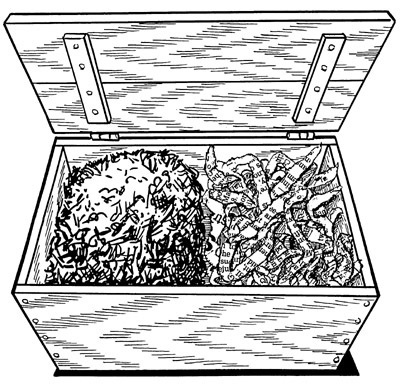
3. Make a worm bed
Worms like to live under lots of moist paper or leaves. This helps keep them cool and moist, gives them fiber to eat, and prevents fruit flies from getting to their food. To make your worm bed, tear black and white newspapers into one-inch strips, fluff them up, then moisten them with a spray bottle so they are completely wet but not dripping. Fill your bins three-quarters full with this moist bedding. Shredded cardboard, leaves, compost, sawdust, and straw can also be added in as bedding. Do not use glossy paper or magazines. Sprinkle bedding with a few handfuls of soil.
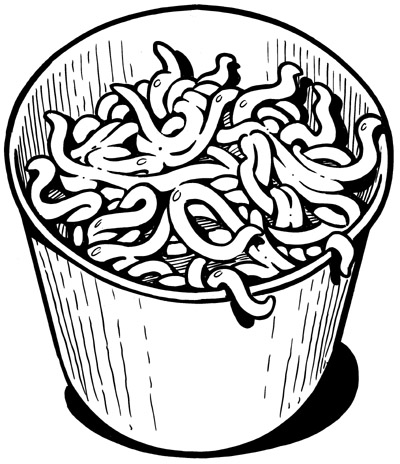
4. Adopt some worms
Compost worms are often called "red worms" or "red wigglers." Their scientific name is Eisenia fetida. They are different from earthworms and nightcrawlers, which live underground. You can find red wigglers in an old compost pile, get them from a friend's worm bin, or buy them from a worm farm. Start with one half to one pound of worms, or two nice big handfuls.
Compost worm sources in the Bay Area:
- Delta Worms
- Urban Farm Oasis (best for small quantities of worms, must be picked up in-person)
- Craigslist (SF Bay Area search for "composting worms" or "red wigglers")
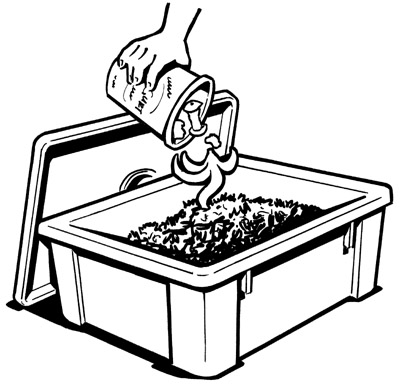
5. Feed your worms
Give your worms about a quart (one pound) of fruit and vegetable trimmings, then leave them alone for a couple of weeks while they get used to their new home. After that, feed your worms about a quart of food scraps per square foot of surface area in your bin per week. To avoid fruit flies and odors, bury food under the bedding. Learn what you can put in your worm bin here (jump).
6. Maintain your worm bin
Always keep a 4- to 6-inch layer of fresh bedding over the worms and food in your bin. Add fresh bedding every time you feed the worms. Keep bedding as moist as a wrung-out sponge. In a plastic bin, add dry bedding to absorb excess moisture. Wooden bins may require adding water occasionally.
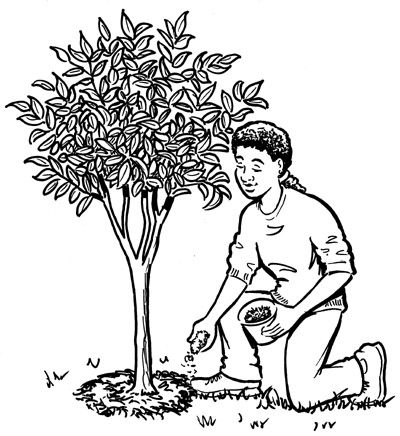
7. Harvest and use your worm compost
You can start harvesting worm compost 2 to 3 months after you set up your bin. Simply reach in and scoop out the brown crumbly compost, worms and all. You can also move the contents of the bin to one side, place fresh bedding and a handful of soil in the empty space and bury food there for a month or two. Harvest the compost after the worms have migrated to the new food and bedding. Harvest at least once a year to keep your worms healthy.
What You Can Worm Compost
Deciding what to put in your worm bin is an important part of the composting process. Don't overfeed your worm bin! If you add more food than the worms can eat it will start to smell and attract flies.
DO Feed Your Worms
- Fruit and Vegetable Scraps
- Shredded paper with non-toxic inks
- Coffee grounds and paper filters
- Paper-based tea bags
DON'T Feed Your Worms
Put the following in your curbside green cart instead — commercial composting facilities can process them.
- Grains, beans, or breads
- Oily, salty, or spicy food
- Meat, bones, or fish
- Pet feces (goes into landfill bin)
- Citrus
- Dairy products or grease
Troubleshooting Your Worm Bin
Having trouble with your worm bin? Here are tips for some of the most common questions.
| Symptoms | Causes | Solutions |
|---|---|---|
| Worms are dying | Food and bedding all eaten | Harvest compost, add fresh bedding and food. |
| Too dry | Add water until slightly damp. Add moist bedding if needed. | |
| Extreme temperatures | Move bin so temperature is between 55 and 77F. Make sure bedding amount is adequate. | |
| Bin attracts flies and/or smells bad | Food exposed or overfeeding | Add a 4 to 6 inch layer of bedding and stop feeding for 2 to 3 weeks. |
| Non-compostables in bin | Remove meat, dairy, etc. | |
| Ants in bin | Food exposed | Cover food with 5 to 6 inch layer of bedding. Try lightly dusting boric acid powder around legs or bottom of bin, use other ant barriers around the legs or set the legs into small cans (tuna, cat food) with water in them. |
| Sowbugs, beetles in bin | These are good for your worm compost! | |
| Segmented white things in bin | These are solder fly larvae. You may see them in your backyard compost bin as well. They hatch into slow-flying flies and are harmless, as the larvae help with decomposition. |
Adopt Some Worms
Compost worms are often called "red worms" or "red wigglers." Their scientific name is Eisenia fetida. They are different from earthworms and nightcrawlers, which live underground. You can find red wigglers in an old compost pile, get them from a friend's worm bin, or buy them from a worm farm. Start with one half to one pound of worms, or two nice big handfuls.
Compost worm sources in the Bay Area:
Compost worm sources in the Bay Area:
- Delta Worms
- Urban Farm Oasis (best for small quantities of worms, must be picked up in-person)
- Craigslist (SF Bay Area search for "composting worms" or "red wigglers")